Windows Phone App Studio
At a recent Microsoft event one of the presenters reminded the audience of the Windows Phone App Studio and mentioned a bunch of new features, including support for Windows 8.1 and Windows Phone 8.1 Universal Apps.
I signed up for an account when App Studio was still in limited beta and was immediately impressed by the ease at which you could develop a simple content based app. I remember mentioning it to a couple of guys in the office and saying that if this sort of thing kept up, we'd all be out of jobs.
Having not done a lot with App Studio since, I decided to fire it up again and see just how easy it was to create an app based on some publically available content and publish it to the store.
I've got a friend who enjoys going on cruises, almost to the point of it being an obsession and as we'd all just booked cruises for later in the year, I decided I'd build an app for cruisers called CruiseJunkie.
Step 1: Sign up for an account using your Microsoft account.
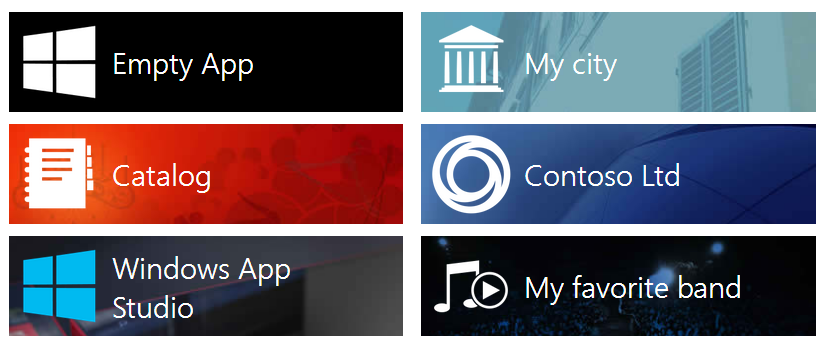
Step 2: Start a new project and select the template type (I chose an Empty App)
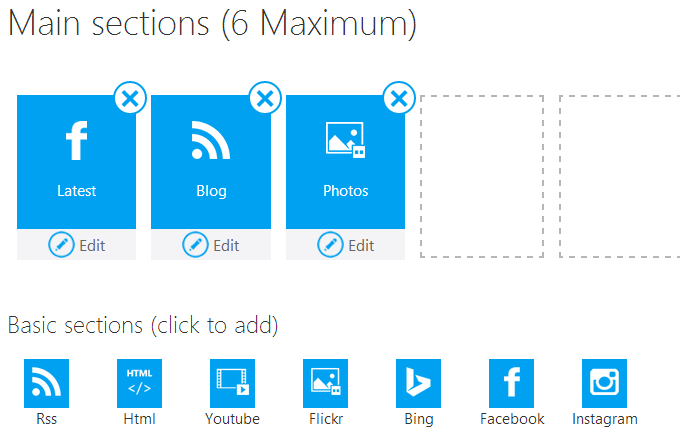
Step 3: Add some 'sections' to your app.
Sections render as PanoramaItems on the main page of the app. There's a few common sections available, including Facebook, Instagram, and Flickr. You can also add your own collections, which could contain static data (stored in the app) or dynamic data (store in Azure).
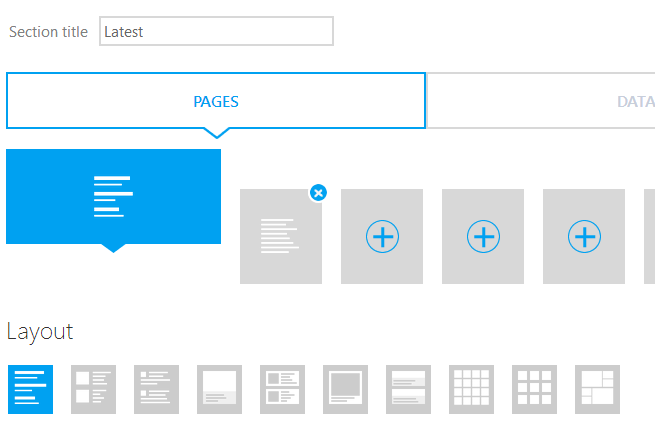
Step 4: Choose a style for your sections.
You can choose from a large range of styles for each section so that no matter what sort of data you're pointing at, there's bound to be one that looks just right.
Most sections consist of two pages, one showing a list of data and the other showing a single item. You can choose layouts for both of these pages.
Step 5: Choose a theme for your app
You can choose from a Light or Dark theme, or go ahead and create your own by setting Background images and choosing appropriate colours.

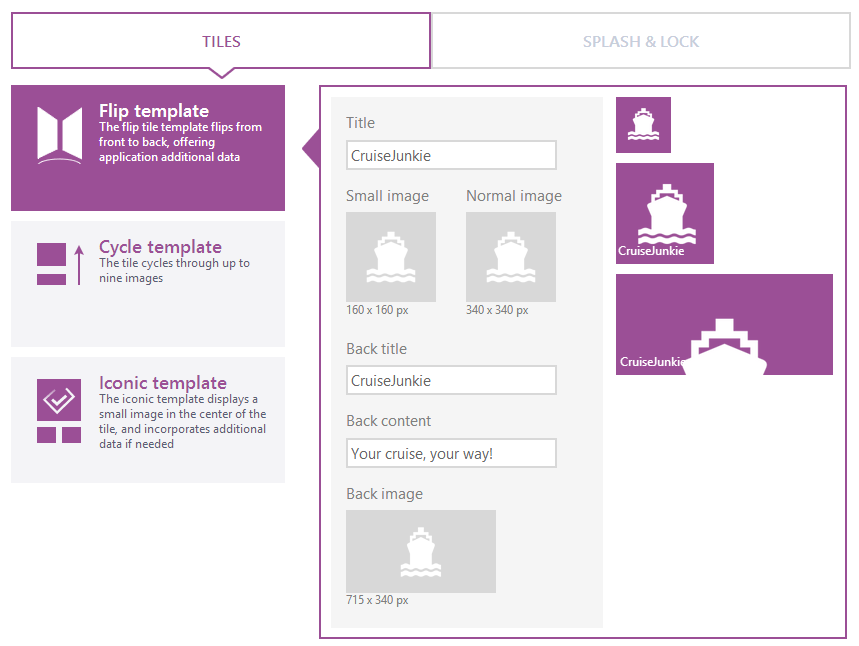
Step 6: Upload your Tiles
Getting artwork for you app, including the tiles, is probably the most time-consuming task in the whole process. I grabbed a suitable icon from the Noun Project for CruiseJunkie, so it didn't take too long. The App Studio page displays the sizes you need depending on the tile option you choose. For the Flip tile template, you'll need 160x160, 340x340 and 715X340 jpg images.
Step 7: Download the source code, or publish you app
Once you've completed the steps above, you're ready to start thinking about what to do next. You can download the source code and make additional changes using Visual Studio, or go ahead and publish the app.
Since I wanted to test the end-to-end process I decided to publish the app. This process wasn't quite as easy as I had though it should be. App Studio includes a reasonably detailed set of instructions to follow here as well as a video.
After you associate your Store app with your App Studio project you'll still need to download the complete package (XAP file and screenshots) and upload it into the correct places in the Store. I'd like to see this a little more integrated, since you've already provided most of the information needed by the Store in your project. Having said that, it is still really easy.
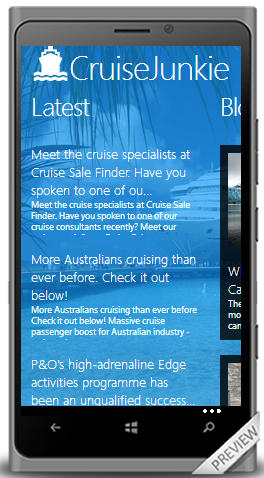
Previewing your app
One of the best features of App Studio is the live preview that lets you see exactly what your app looks like. The Preview is displayed on every step of the process, so you're never left wondering how the changes you are making will look in your app