Using the Windows Phone Toolkit HubTile control
In the August 2011 release of the Windows Phone Toolkit a handy little control has been released that makes it easy to created rotating tiles similar to those that come on the Windows Phone start screen. In this demo, we'll cover how to add a HubTile control to your app and describe the various components of the HubTile.
First off, follow the instructions on CodePlex (http://silverlight.codeplex.com/) to install the Windows Phone Toolkit and create a new Windows Phone project in Visual Studio.
On the page where you want to use the HubTile, add an XML Namespace entry for the Toolkit.
xmlns:toolkit="clr-namespace:Microsoft.Phone.Controls;assembly=Microsoft.Phone.Controls.Toolkit"
The code to add a single HubTile to the page is as follows;
<toolkit:HubTile
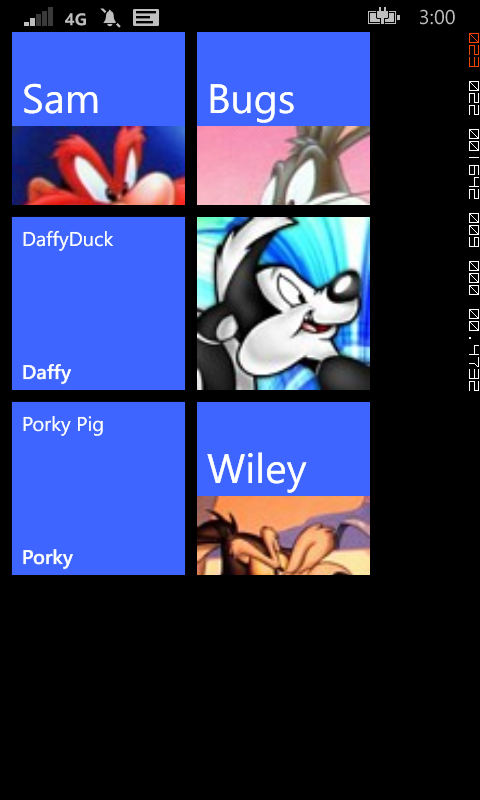
Title="Sam"
Message="Yosemite Sam"
Source="/Assets/Images/Yosemite-Sam.jpg"
Background="{StaticResource PhoneAccentBrush}" />
Basic Properties
Title - Appears on both the front and flip-side of the tile (Sam)
Message - Appears at the top of the flip-side of the tile (Yosemite Sam)
Source - The image to display
Behaviour
The HubTile cycles through a number of states as shown in the image below. These include displaying only the Source image, a split view of the Source and Title, the front-side view of the Title in large font and the flip-side view.

Obviously, one HubTile on it's own is not that exciting, but by wrapping a number of HubTiles in one of the XAML containers, such as a Grid or StackPanel, you'll soon be on the way to creating a Start Screen-like experience in your own app.